Showing posts with label decorating. Show all posts

Thursday, June 2, 2011

Please Remove Your Shoes


Most used words in the summer, enforced with vinyl(Cricut).

Friday, April 8, 2011

Starburst Mirror


When we gave K-Bug's room a makeover we knew we wanted to make this.  I found a great tutorial HERE, at Under the Table and Dreaming.

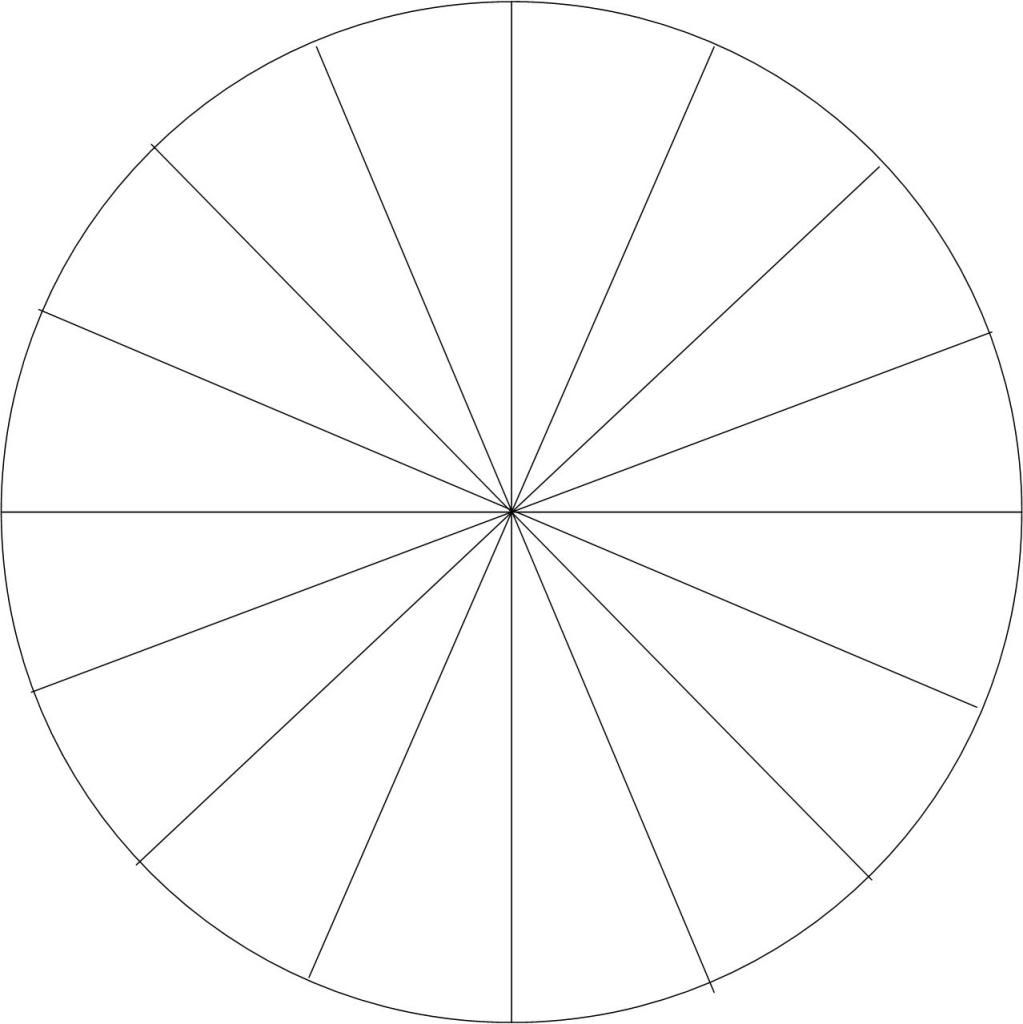
I printed up her TEMPLATE HERE but didn't glue it to the back, I was afraid the paper might come off the back.  The disk I found to use was about a quarter of an inch smaller than the template so I just marked the edges of the disk I used and then marked the template myself with a Sharpie.  Our itty bitty town doesn't have a craft store, at least not until this fall(squeal), so I asked at our new Lowe's.  When I showed her what I wanted to make she took me over to the garden center and found the perfect 6 1/2" circle for me, it's a coaster used for potted plants.  But this filled the bill perfectly!  I bought skewers from Walmart, .97 cents for a package of 100.  I picked up 2 packages so I could find the most even skewers.  I didn't use nearly as many as Under the Table did, but we didn't want a really full one.


Sort through the skewers to find the straightest ones.  If you have a grouted tile counter top, this works perfect, roll the skewers between the straight tile.  Mark 16 skewers 10 1/4" from the flat tipped end.  Mark 32 skewers at 9" the flat tipped end too.  NOT from the pointed tip, some skewers are not the same length, so you need to measure them from the flat tipped end.

Hot glue the first 16 at each marking, pointed tip in.  What worked best for me was making a small line of hot glue about an inch long, putting the skewer on the glue and twisting it.  If there is too much glue on the side then it makes it harder to align the next length next to it.  I added an extra bead to give it a little 3D dimension so the skewers that were marked at the 9" mark were actually a little raised if looking at the back side of the starburst.  When I flipped it, the longer skewers appeared to be raised.  You'll see....

 Keep gluing until all are fastened down. 

I took it outside and spray painted glossy black on both sides.  When dry, bring it back in and turn right side up.  See how the shorter ones appear to be recessed?

Flip it back over and fill in the skewers with lots of hot glue.  The back won't be pretty, but no one looks there anyways.  Decide which part of the starburst you want to be the top when you hang it on the wall.

I took some framing wire, twisted some loops and bent in half.  Hot glue it to the back.

Then, add even more hot glue.  Turn over and attach the mirror.  I found a grouping of peel and stick mirrors at TJ Maxx for around $6.00.  I think the coaster cost around $4.00, spray paint around $3.50.  The whole thing came to less than $20.00.

ENJOY!!!


Tuesday, March 29, 2011

Bedroom Redo...

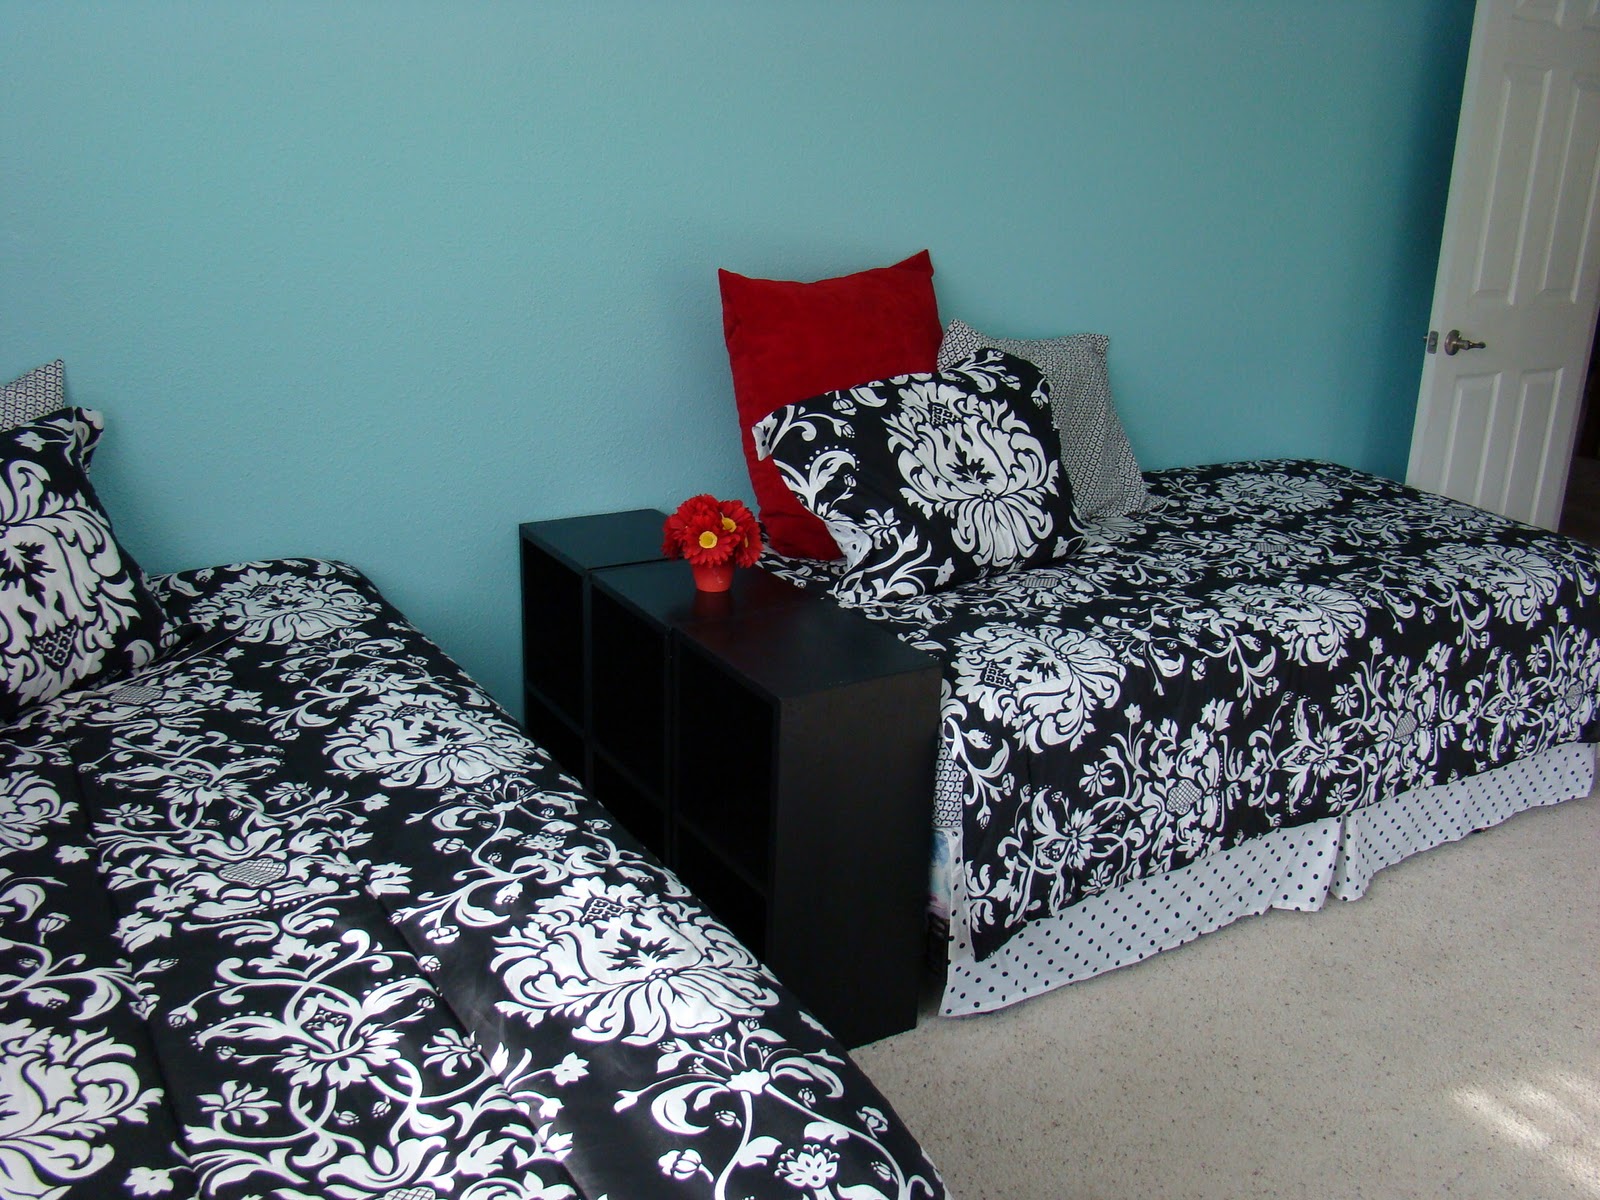
We decided to redo K-Bug's bedroom since the Mermaid moved out.  Deciding exactly what to do has taken time, but we're happy with the results.


After:

 The Reading Nook
New Bedding from Target

No cable in the rooms, but DVDs are allowed.

Repurposed Sconces and Scarves

 
Repainted Cubbies for Nightstand

Lots of bright colors

We made the Starburst Mirror Ourselves
Great Tutorial at Under the Table and Dreaming, and
my own step by steps at Sistas Procrastinate in Style.


During:

Vacuum up all the baseboards and clean them so you can mask them off.

Patch up any big nail holes.  If they're small, the paint will just fill them in.


I like the kind that goes on pink and turns white when dry so you know when it's ready to sand and paint over.

Primed all of the color blocks.

Primed them TWICE!

Before:


Wednesday, June 2, 2010

My Latest Project?

I actually started this over a year ago, but I finally filled the frames!  I have room for more, so since kids grow it will keep changing.  I love the way it turned out!  The other grouping of frames is Mermaid's photography assignments.  She's taken photography for 2 years and is graduating tomorrow(sniff sniff).


Sunday, March 14, 2010

Another Room Done....

Finally got to another room. I purchased these vinyl decals from Willow Creek Signs a few years ago for this bathroom. But my walls are really textured, and I have a Cricut and tested the walls out first. If I couldn't get my vinyl to stick I was afraid to mess up and use the good ones. I was walking by an art store though and saw these canvases and got an idea. So, I used the vinyls basically as a stencil instead. It worked! Who came up with texturing walls anyways?! Oh, probably the people that came up with popcorn ceilings.

I wanted a color that was bright and cheery, I think I accomplished that. This is Pampas by Kilz.


Sproost says I'm:

Your specific style combines three more general styles:
60% Cottage Chic
20% Modern Elegance
20% Hollywood Couture


Cottage Chic
Who says that cottages can't be modern and chic? Who says that they have to be floral and cheesy? Not you! You love the carefree spirit that the cottage interior inspires, but you are also serious about your appreciation for modern art and hip treasures. You love old and new alike, and love to highlight them all to expose the uniqueness of each. What better way to show off these treasures than with a light background?

Materials
You have a great sense of humor when it comes to design and even like to make fun of the style itself. Which means that you will throw in a toy boat or a vintage life preserver to keep the mood of the place just like the color: light! The fabrics are natural (cottons and linens) and are light in touch. Much of the furniture is wood or wood framed (the lighter the better, think driftwood!) and as long as it's used sparingly or with modern lines, you even throw in a wicker piece here and there.

Colors
Your true inspiration (whether you know it or not) is the sea... the colors found at your favorite beach: white and light beige of the sand, a variety of blues for the ocean and sky, and greens and pale grays of the sea glass... but the key is white! Your space should feel light and airy and give off the mood one has when at the beach: laid back! The key with Cottage Chic is balance; in one corner there could be a rustic wood table that looks like it could have been found rather than made, but it is offset with a modern vase while another corner is adorned with a modern Lucite piece.

Space Planning
The furniture is comfortable and the layout is cozy. The more it encourages intimate gatherings the better! Just watch out for the red wine spills on the new white sofa! The color throughout is light and airy - and though you love to accessorize with fun colors (the sky's the limit with a white background), the main color seen and felt throughout the house is white or very light versions of colors so that they feel almost white.

Tuesday, October 27, 2009

Craft or Treat...


I love my Cricut! The witches came from a Silhouettes free font I downloaded. And the "Boo!" is in Sparkly I downloaded from fontdiner.com. Used the Sure Cuts a Lot program to cut these out on the Cricut. The glass boxes came from a Super Saturday craft I never got to even start. The good thing about this vinyl is, it comes right off with a warm blow dryer or Undo. So, next month I'm sure I'll change it from Halloween to Thanksgiving(ooohh, maybe some gorgeous leaves!), and then the day after Thanksgiving, onto the Christmas Nativity scenes.


I used some green feather trim I picked up a while ago to go around a small lampshade. I just pinned it snug under the glass block to keep it in place.


I also just pinned some sheer orange wired ribbon around the witch blocks, the lights helped reflect even more color behind them. The lights are small strands I picked up I think at the $ store, and they're just tucked in behind the blocks, no holes in the blocks.


Boo!

Wednesday, May 27, 2009

Some Pics from the Yard.....

Having fun with the camera, playing around, even the weeds can be pretty. You can click on the picture for a bigger view. This dandelion was about 3" in diameter, it was huge!


A Summer Thunderstorm that rolled by. We didn't actually get any rain, hail, lightning, or thunder, but we were told we could. The clouds created a gorgeous amber glow over us and inside the house.


Saturday, August 2, 2008

My Contribution to Mermaid's Twilight Obsession....


LDS YW Version! I saw a blinkie that said, "My heart belongs to my husband, but my neck belongs to Edward". Mermaid loved it so much that we had to come up with something appropriate for her. For those of my non-LDS audience, RM stands for Return Missionary. She's off at a celebration party for the release of Breaking Dawn with some girls from church, they tried to think of some Twilight themed snacks, but we couldn't come up with anything besides soda and brownies. The girls thought the Quileute "bonfire" food didn't sound very appetizing, lol. We made a sign for her friend, E, hosting the party in sparkly blue and put the quote, "I like my men cold, dead, and sparkly". Hopefully her mom doesn't mind, E had told us she had too many on her facebook and narrowed it down to that one and one other, but that was her favorite, so I hope she likes it. E was almost done with the book already, past page 700 already, and she had a swim meet today!

Monday, April 14, 2008

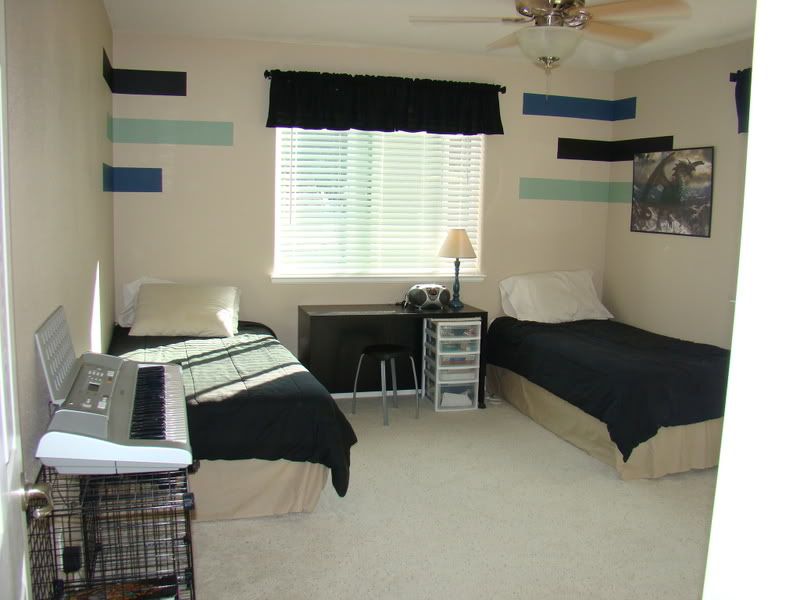
And the boys room as promised.....

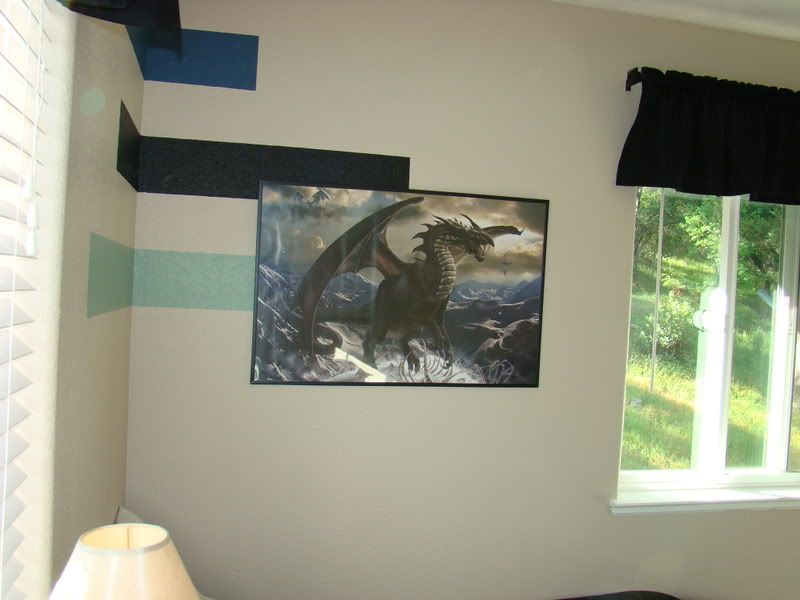
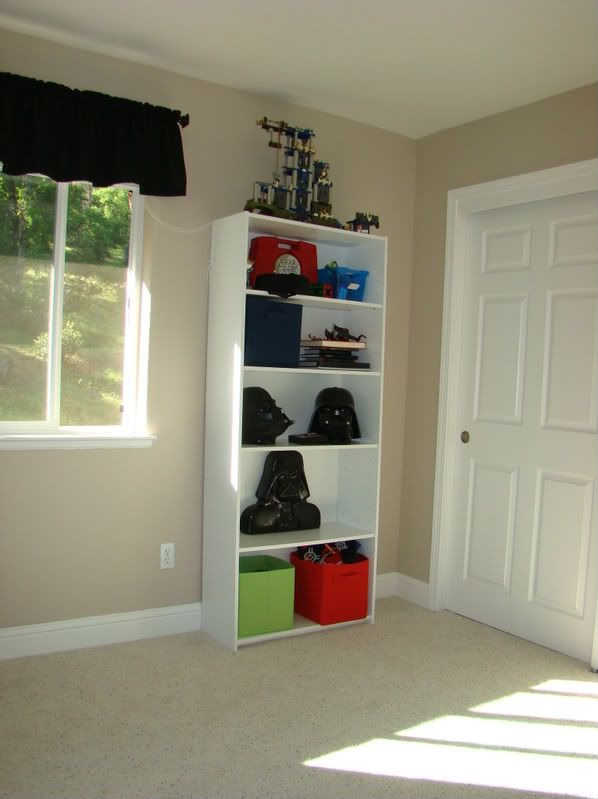
First, it's SO hard to do anything with a "tween" boy's room. Ick(12), and Bones(10), and their polar opposite personalities, I feel like we came to a happy medium here. We're also waiting on a very cool Jack Sparrow poster to come in that has the same colors as the dragon poster. Ick is "usually" meticulous, but Bones's chaos can bring him down. "Ick" needs his order and was impressed with my totally straight lines. Every time he saw me pull out the level to measure he was relieved. He takes after me, I use a level for everything, no eyeballing. lol Bones wanted just random lines and stripes at every angle. LOL Paint colors: just randomly picked them. I took the boys to Walmart, they like the Inspiration Room below too, but in boy colors, so that was really what we were thinking at the time. But, we decided to do something different. So, I told them to talk, pick out some colors, then we found the poster and couldn't believe how perfect it was!


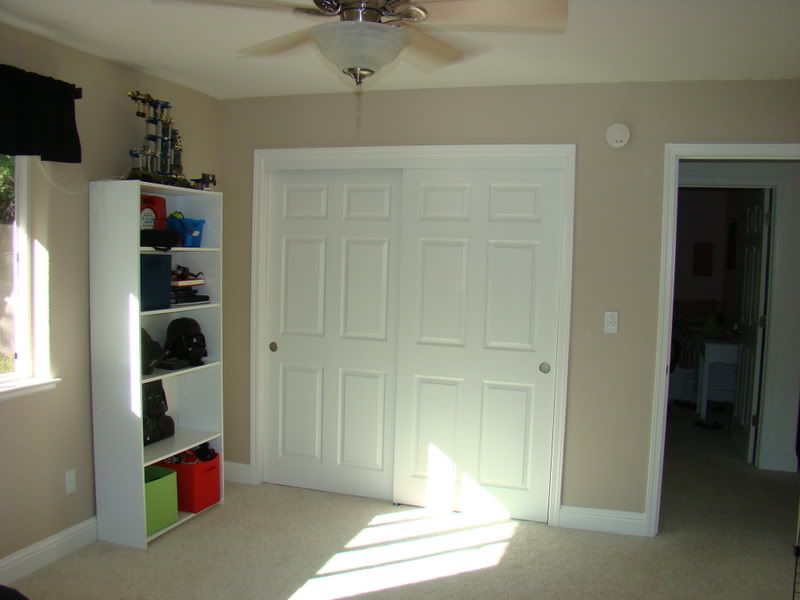
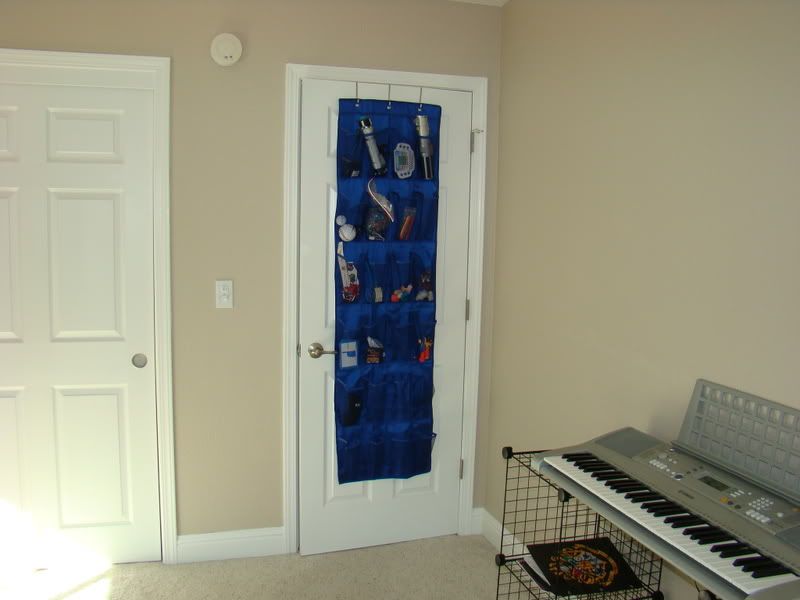
And this is my solution to boys clutter. I think everything needs to have a home. Too big for toy boxes, and it's scary what ends up in a boys toybox anyways. So, I put this up, and it's fairly successful. After purging a ton of things when we pulled them out of their old room, we still ended up with a lot of crap. So, this is the house for the lightsabers, Harry Potter Cards, the five plastic soldiers left we can't bear to part with, a magnifying glass, etc..... etc...... etc.......